
In This Article
Most of the anxiety around hiring a mold remediation company comes from not knowing what's actually supposed to happen — which makes it hard to tell a thorough job from a rushed one. Here's a transparent, step-by-step walkthrough of the process we follow, and what you should expect from any reputable company.
Step 1: Inspection & Assessment
Before any remediation is quoted, the affected area (and often the broader home) is inspected to determine the extent of the problem, the likely moisture source, and whether lab testing is needed. This step determines everything that follows — a remediation plan built without a real assessment is a guess, not a scope of work.
Step 2: Written Scope & Price
A legitimate remediation quote is itemized: what's being contained, what's being removed vs. cleaned in place, what antimicrobial treatment is used, and whether post-job verification is included. You should receive this in writing before any work begins, with a fixed price — not an open-ended hourly estimate.
Step 3: Containment
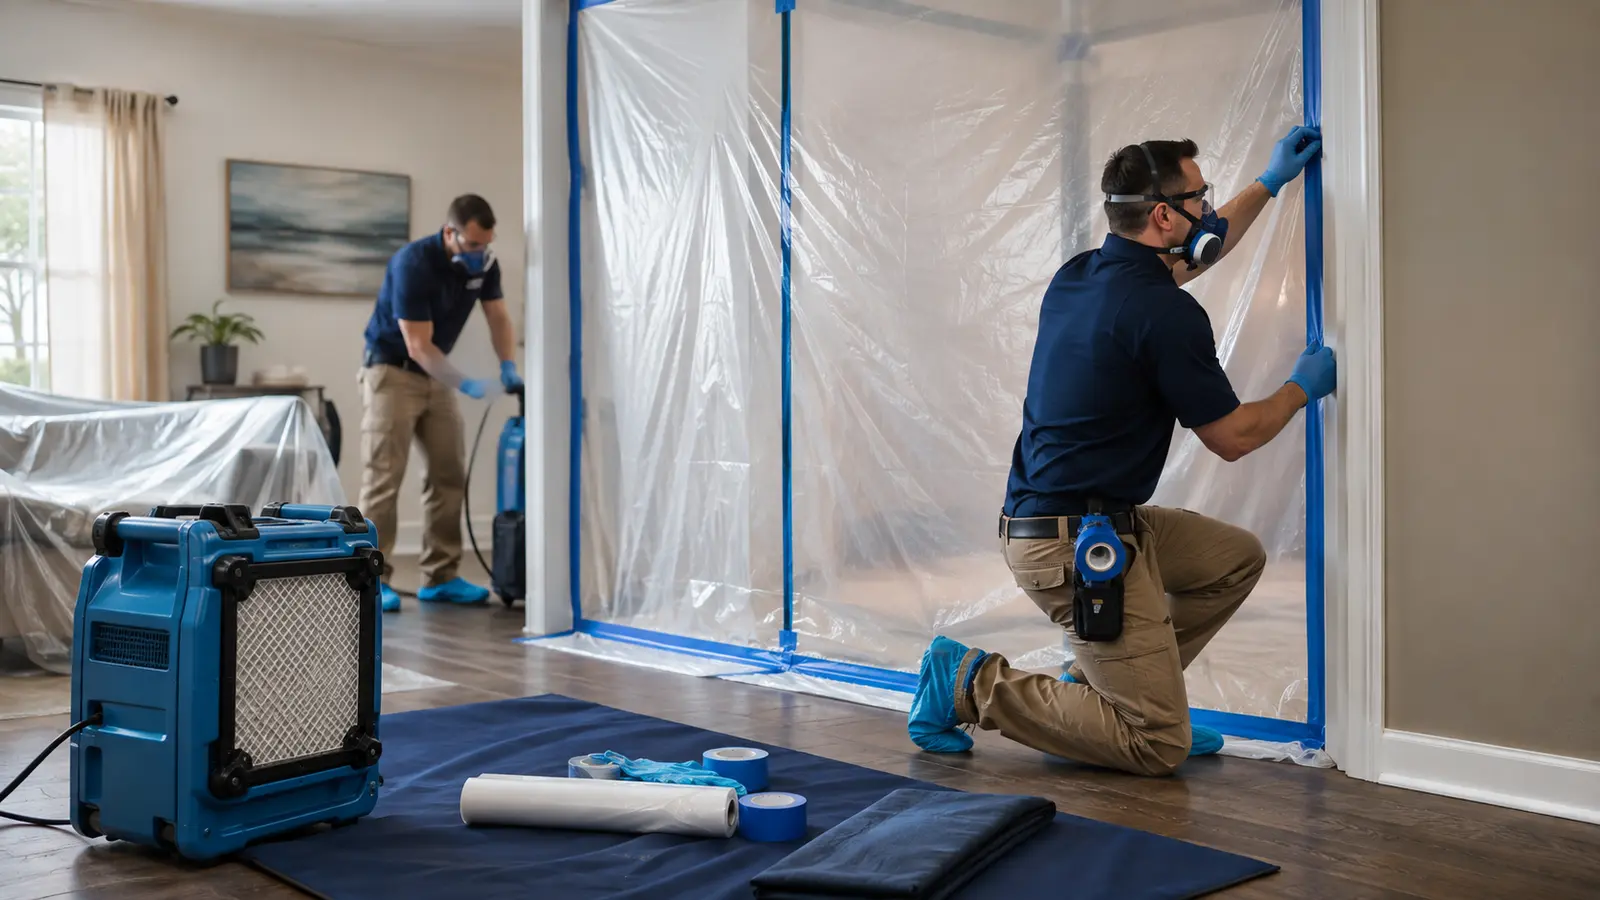
The work area is physically isolated using plastic sheeting and, for larger or more sensitive jobs, negative air pressure equipment that keeps air (and spores) from moving from the containment zone into the rest of the house during work.
Step 4: Removal of Unsalvageable Materials
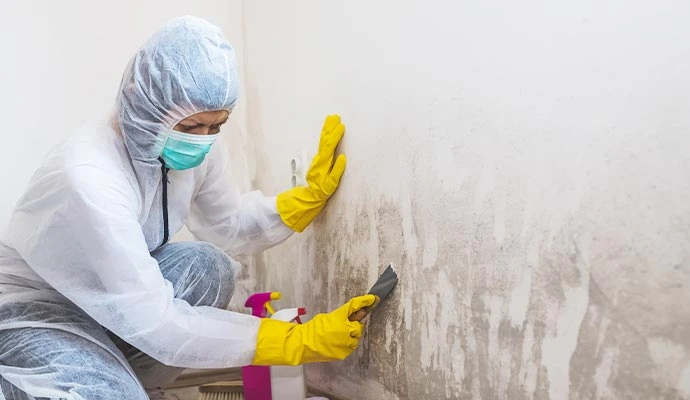
Porous materials that mold has penetrated below the surface — drywall, insulation, carpet padding — generally can't be fully cleaned and are removed and bagged for disposal. Non-porous and many semi-porous materials (solid wood framing, for example) are cleaned and treated instead of replaced, which controls cost without cutting corners on effectiveness.
Step 5: HEPA Filtration & Antimicrobial Treatment
HEPA-filtered air scrubbers run throughout the work to capture airborne spores. Remaining surfaces are treated with an EPA-registered antimicrobial appropriate for the material and mold species involved.
Step 6: Drying
The area is dried to target moisture levels using appropriate equipment (air movers, dehumidifiers) — this step is not optional or a formality. Materials that remain even slightly elevated in moisture content are exactly why mold returns after an otherwise well-executed remediation.
Step 7: Clearance & Documentation
On request (and always recommended for black mold jobs), an independent third-party performs post-remediation air or surface testing to confirm the area has returned to normal background levels before containment comes down. You should receive a final report with before/after photos and, if applicable, lab results.